.png)
Introduction
Have you made changes to your website and want them to be visible immediately? Clearing the cache may be necessary to force content updates. In this article, we guide you step by step through the process of clearing a website's cache directly from the Fasterize console.
Access the Fasterize console
Once you are logged in to the console, you will be taken to your organization's Projects page.
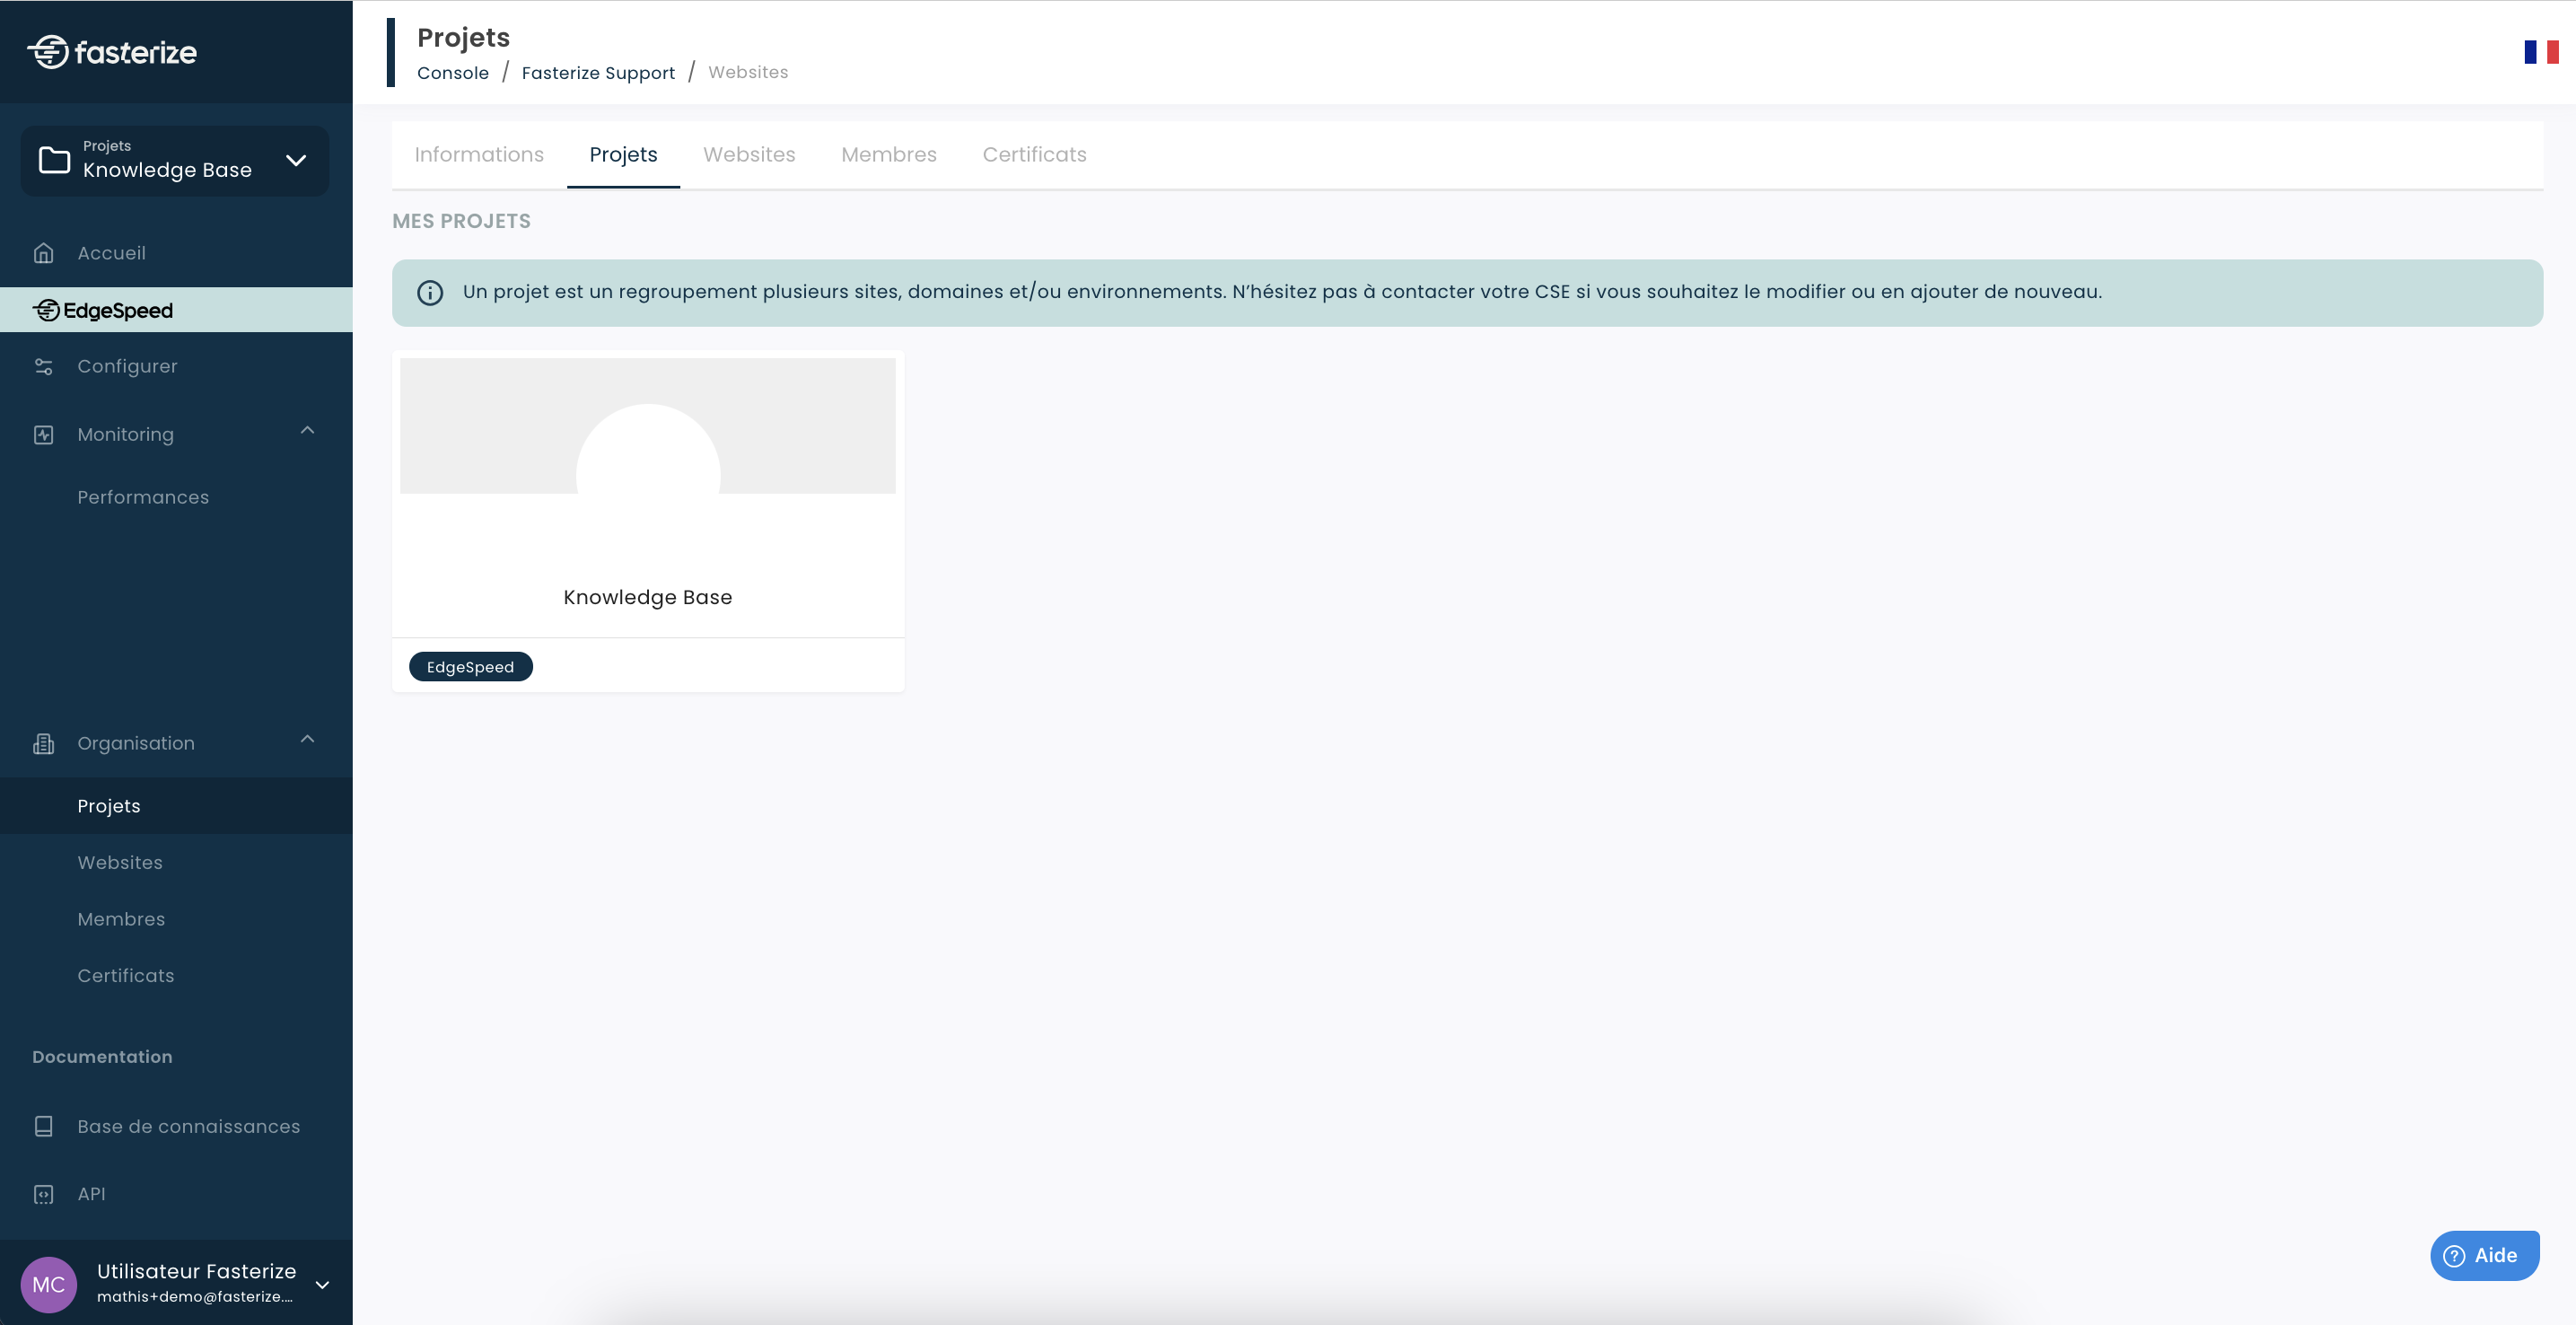
You have two options for accessing your domain:
- Select the domain directly in a project
- Or click on the Websites tab to display a list of all your sites.

Clear the cache from the Websites tab
In the Websites tab, locate the domain concerned. On the right, click Quick Actions, then select Flush cache.

Clear the cache from the site configuration
You can also click on the domain to access its configuration page. Once in the site configuration, click on Quick Actions in the top right corner, then select Flush cache.

Select the type of purge
A pop-up window opens with several purge options:

Here is what each option allows you to do:
- Purge HTML pages
- Deletes only cached HTML pages. Useful after a content update.
- Purge static resources
- Clear the cache for files such as images, CSS, or JavaScript.
- Purge by URL
- Target one or more specific URLs.
⚠️ Note: this option only affects the platform and CDN cache, not the browser cache. For the latter, purging static files is recommended.
- Global purge
- Clears the entire cache (HTML + static resources) for the selected site.
💡 Tip: Before a major release, a global purge is the safest method to ensure that all users will see the new versions immediately.
Conclusion
The Fasterize console allows you to easily manage your websites' cache, either via the Websites tab or directly from a domain's configuration. Adapting the type of purge to your needs guarantees efficiency and performance.